git config --global credential.helper 'cache --timeout=10000000'NCEAS’ Server
Module Learning Objectives
By the end of this module, you will be able to:
- Summarize the primary steps for getting set up on a server
- Connect your GitHub self with your server self
Overview
Working on NCEAS’ Server is similar to working on an entirely separate computer from the laptop or desktop computer on which you typically work. This means that you need to go through the steps of connecting GitHub to your “RStudio” again for the instance of RStudio accessed through Aurora. GitHub’s Personal Access Token is referred to as “token” hereafter for simplicity.
Getting Started on the Server
Necessary Software
The only software that you will need on your personal computer to get set up on NCEAS’ server is RStudio!
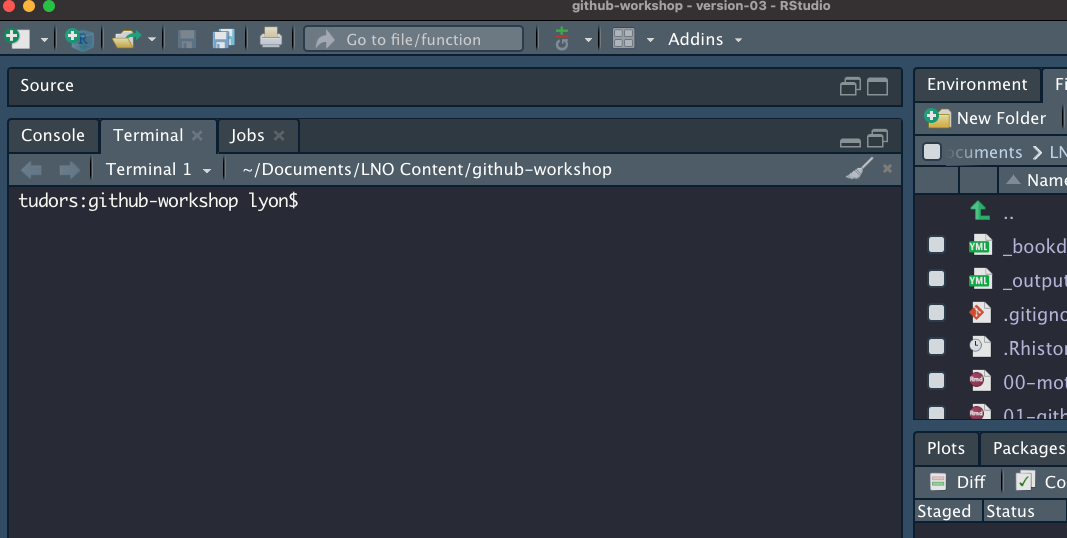
You likely have worked in the “Console” tab of RStudio (where run lines and outputs appear; see below) but RStudio has another tab to the right of the “Console” called “Terminal” which offers RStudio users access to the command line (a.k.a. the shell). If you are a veteran command line user you may prefer to use the standalone Terminal app on MacOS or PuTTY on Windows but for the sake of keeping your tool kit streamlined, we’ll walk through getting set up on NCEAS’ server using only RStudio’s Terminal tab.
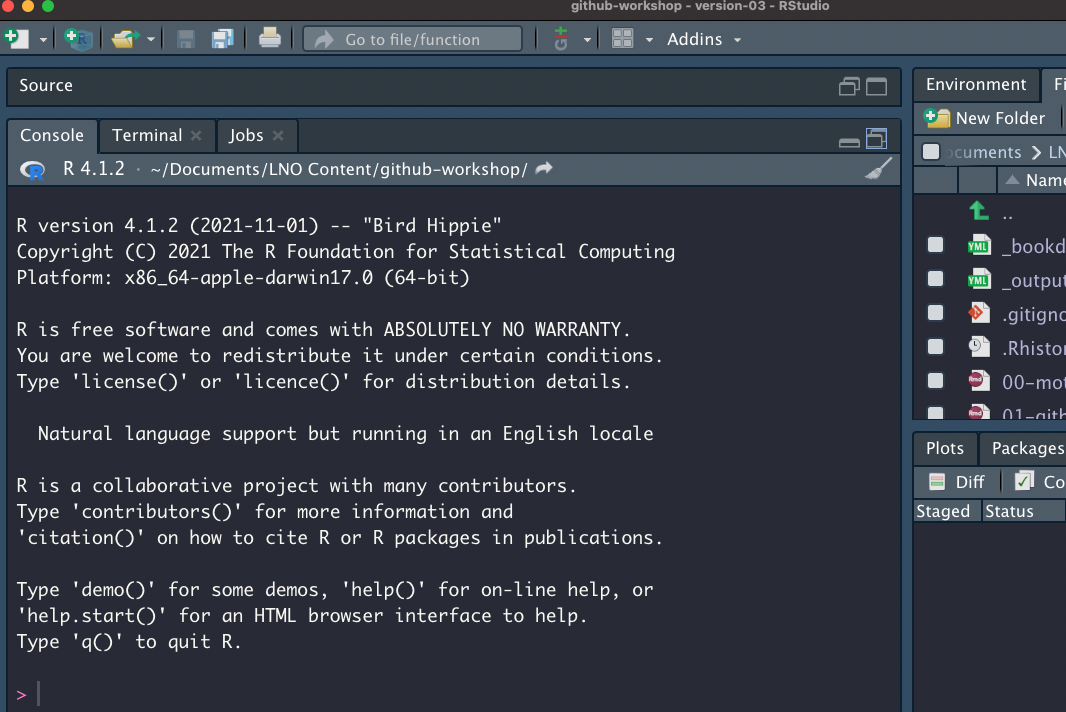
The Terminal does not accept R syntax (and the Console doesn’t accept Terminal syntax) so you may notice that some of the code we’ll walk you through below is formatted differently than you would write an R script.
Get your Invite Ready!
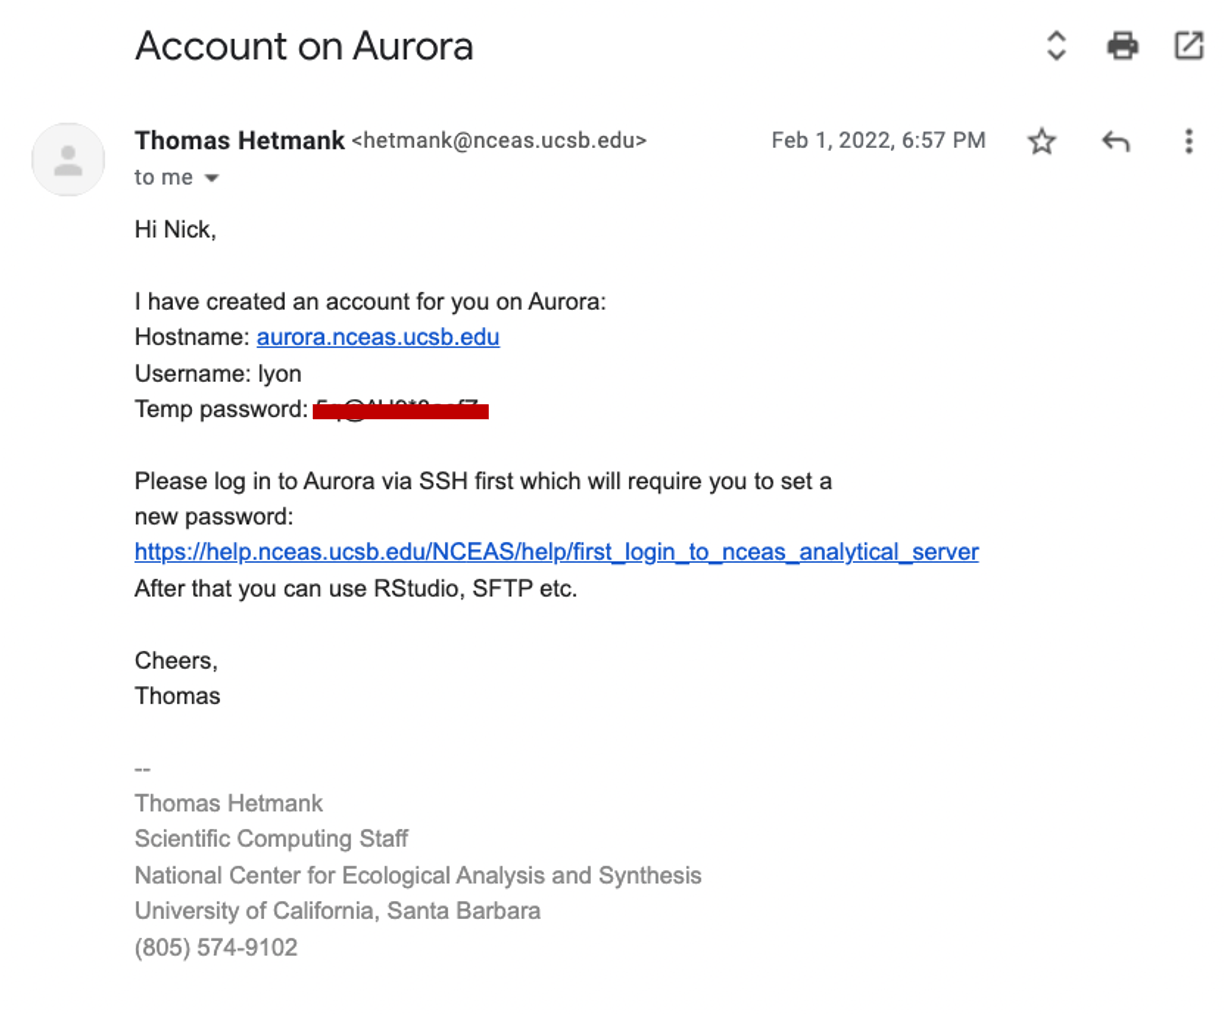
After your group RSVP’d for this workshop, our team contacted NCEAS’ IT team to get you an invite email to create an account on the server. An example of what that email may look like is included below but there are two key pieces of information:
- Your username
- Your temporary password (covered by a red bar in the screenshot).
If you have not received that email, check your Spam folder for emails from Thomas Hetmank (hetmank@nceas.ucsb.edu) or Nick Outin (outin@nceas.ucsb.edu). If you have not received the email and it is not in your Spam, reach out to our team and we will work to get an invite sent to you.
Signing into the Server
In the following instructions, all words that look like this should be typed into the Terminal tab and run by pressing return or enter. Note that typing these commands into an R script or R Markdown will not work because it will attempt to run in the Console. All words that look [like this] (i.e., bracketed) should also be typed into the Terminal tab but the specific text should be replaced in a user-specific way that is clarified in the nearby text.
In the Terminal pane of RStudio, you will “ssh” into the server by running the following code:
ssh [your username]@aurora.nceas.ucsb.edu. It is @aurora because the name of the server is Aurora.If this is the first time you’ve accessed the server you will need to enter
yesto accept the server’s SSH key.You will then be prompted to enter your
[temporary password](see the above email example). Note that the cursor will not advance as you type but it is registering your entries! There will be no indication that you are typing (such as: “•••••••••”) This throws off many users so hopefully the above note helps set your mind at ease.You will then be prompted to change your “expired” password. We consider your temporary password to be expired as soon as you use it because sharing passwords via email is not secure and this “expiration” lets you set the password to something that only you know at the outset of your time in the server. Note again that the cursor will not advance as you type but it is working! To update your password, enter your
[temporary password], then[your strong new password]and finally re-type[your strong new password]to confirm it. Note that your new password should not be “your strong new password” :)You are ready to go! Run
exitto log out of the server in the Terminal tab.Now that you have set a new password, use your favorite web browser (e.g., Firefox, Chrome, etc.) to access Aurora and click “Login to RStudio Server”
In the resulting page, you can sign in with the same username and password you just signed in on the Terminal tab with.
You should now be in something that looks very much like RStudio but is housed in a tab on your browser! We will work together from here on out so once you have reached this point, let our team know and we can gather the group before continuing.
If the above steps have not resulted in successfully accessing Aurora, consult NCEAS’ instructions on first login and/or SSH-specific instructions for Mac vs. Windows and/or email us!
Connecting GitHub and the Server
Your server “self” is essentially a different computer that you access via a browser (or command line in some cases). Because of this, you will need to tell GitHub that your server self is allowed to access your GitHub self’s content. To do this you’ll need to authenticate via personal access token or SSH key pair. Revisit our authentication instructions in the “Workshop Preparation” section of the workshop home page for details.
Server + PAT Note
If you choose token-based authentication you’ll also need to tell the server to store your token for some amount of time otherwise the server will “forget” it between sessions.
In the Terminal pane of the server’s RStudio session run the following code:
This tells your server self to remember your token for 10 million minutes (roughly 20 years).
Optional Other Steps
You may want to configure additional settings, such as:
- The default branch name (for new repositories)
usethis::git_default_branch_configure(name = "main")Working on the Server
Once you’re properly set up, working on the server should be completely seamless! Instead of opening RStudio on your computer you’ll open a browser and work on the server from there but otherwise the feeling and process of version control should be identical. Eventually you may even want to make commits on your computer, push them to GitHub (after pulling!), then pull those same commits down to your server self and continue working there.
You’ll find working on the server to be dramatically faster for computationally-intense operations so we hope this guide has been helpful in getting you prepared to take advantage of that benefit!